Showing posts with label Baking Bread. Show all posts

Saturday, April 13, 2013

In Knead of Dough...

Have you fed your sourdough this week? To keep your dough multiplying, feed it regularly: 1 cup water+2 cups flour to 1 cup starter. At the Motherhouse Old Style Life-Skills workshop Serious Dough, we made basic yeast bread, Irish soda bread, and sourdough pretzels.

Watch our slide show to see us grinding wheat into flour, mixing & kneading bread dough, buttering loaf pans, forming loaves, learning about sourdough, shaping pretzels, doing cat's cradle, feasting... and then admire the loaf we finished baking at home.
Thanks to Amy Jean and Tal for theses great photos.

Wednesday, February 22, 2012

Serious Dough at Geer Village

Last summer, Nancy Berry attended our "Rolling in the Dough," Bread Baking workshop with her daughter-in-law, Erin. Nancy found kneading bread dough to be so soothing, she wanted to make that experience possible for the residents at Geer Retirement Village in Canaan, CT. So, she spoke with Geer's recreational director, Scott Zbell and with Motherhouse's Debra Tyler and on February 22, 2012, our workshop traveled to the "Country Kitchen" of Geer Village...

In loving memory of Nancy's mother,
Mrs. Nancy Griggs

First we looked at seed-heads of dried wheat plants and the small kernels of grain called wheat berries. Then, we ground some into flour. Our mill has an extra long handle so two people can work together to turn the crank. Here are Elizabeth and Debra grinding flour together.
Scott took a turn too!
After mixing the ingredients, we all kneaded the dough. Tal and Abi Pease had also been at last summer's workshop and came along for a refresher and to help.
After the dough was well mixed and kneaded to a smooth consistency, we set it to rise in a bowl coated with sesame oil. Abi carried the bottle of oil around so all the residents could smell its delicious nutty aroma.
When the dough had risen to "double-in-bulk," we "punched it down," let it rise a second time, then formed it into loaves. Tal brought pecans, cinnamon, sugar, raisins, and chocolate chips to roll into our loaves if we wanted.
Then we set our loaves aside to rise a third time.
We also made individual bread "sculptures." While waiting for the bread to rise, we talked about the nutritional benefits of home-made whole-grain bread and how to make butter.
A peek in the oven at our sculptures.
As the bread baked, the smell wafted throughout the building and we found ourselves greeting more and more people who had followed their noses to the door.
Finally!!! The moment we'd been waiting for!!!
Scott served tea and coffee, we sliced up a couple loaves to sample, and all the participants went home with their own sculpted dinner roll.
Thank you, Nancy!

Saturday, November 13, 2010

Serious Dough

Do you know where your spoons are??? If these look familiar, please contact Debra@Motherhouse.us.


Caring for your sourdough starter:
In a quart jar, mix 1/2 cup water (if it is chlorinated "city" water let stand in an open container for at least 24 hours before use), 1 cup flour, and all of the starter you brought home today.


Loosely put lid on jar and store in refrigerator until ready to feed it again and/or bake bread. It must be fed weekly by mixing 1/2 cup starter, 1/2 cup water, and 1 cup flour in a clean qt jar and returning to refrig. What's left after you take out 1/2 cup for replenishing is what you use for making bread or flatties.
Here's Angelina's rendition of how we made flatties at the workshop:

You start with what is left of the sourdough mixture when you remove 1/2 cup for the starter.

Add a dash of sugar
1Tbsp olive oil
1 Tbsp salt
a handful of caraway seeds
enough flour to make it handle like bread dough

The mixture is very yeasty. And you should knead this dough a fair bit unlike the quick bread. Let it set for 10 mins to 2 hours.
Pinch the dough into balls and flatten or roll them into discs. Grill them on a cast iron skillet.

Here is a recipe for white sandwich bread adapted from Sara Pitzer's leaflet Baking with Sourdough published by Storey Publ.
In a large bowl mix:
1 cup sourdough starter
1 1/4 cup white flour
1 cup warm water
Let stand in a warm place for 10-24 hours til bubbly.
Heat 1 1/2 cups milk and melt in:
2 Tbsp. honey
2 tsp. salt
2 Tbsp. butter
Let 2nd mixture cool to lukewarm then stir into bubbly starter mix.
Beat in approximately 6 cups white flour to make kneadable dough.
Turn out on floured counter, cover with damp dish towel and let rest 10-15 minutes.
Knead until dough is smooth and elastic.
Place dough in clean greased bowl, cover with damp towel and let rise until double in bulk (probably 2 or more hours).
Punch down and let rise until doubled a second time.
Knead it down and shape into 2 or 3 loaves (depending on pan size),
place in loaf pans, cover, and let rise til double.
Brush tops with melted butter. Bake in 375 degree oven for about 45 minutes
until loaves are nicely browned, pull away from sides of pan, and sound hollow when tapped.
Wrap in towel to cool.

Mature wheat plants.
Round Irish Soda Bread and rectangular Basic Bread from today's workshop.
Salt available from Selina Naturally or from Debra for $5/pound.
Wheat berries from Lightning Tree Farm in Millbrook, NY available through Debra for $0.50/#.
For cheesemaking workshops see New England Cheesemaking Supply Co.

Thursday, April 16, 2009

Sourdough Starter Course

Sure enough, by Saturday evening my new starter was bubbling away and filling up the jar I had brought it home in, just as Angela had said it would at Motherhouse's OSLSS Sourdough Starter Course. When I say new, I only mean new to me, Angela told us the starters we were taking home were descendants of a starter that began over 250 years ago!


Dr. Angela Greco, a verternarian, led this workshop for Motherhouse and will be leading two more Old Style Life Skills Series workshops this year - Jam Session and The Whey of Cheesemaking. For descriptions of these workshops, visit the Motherhouse web site.


By the time you finish reading this post, you will see just how many ways you can use sourdough! This versatility is exactly what Angela set out to show us at the workshop. We made two different breads, pancakes and also pretzels at the workshop. In addition Angela brought a Sourdough Chocolate Cake she had made the day before to the workshop. This was the piece de resistance!


As families arrived for the workshop, equipped with bowls and jars and baking sheets, they settled in and then started grinding wheat berries, enough to yield the whole wheat flour needed for the two breads we were making at the workshop. Three different grain mills were set up for this purpose and everyone had a lot of fun doing this.


All the recipes we followed at the workshop were adapted from the Storey Country Wisdom Bulletin, "Baking with Sourdough". Everyone went home with a copy of this book which contains basic procedures for using sourdough as well as many recipes.


We mixed ingredients together to make a Sourdough Bread with Whole Wheat and a Molasses Rye Sourdough Bread.


We obtained the appropriate amount of sourdough sponge from Angela, started the night before. The sponge contained the starter, white flour, oil, honey, and warm water; making a sponge and allowing it to ferment is a necessary step if you are baking a kneaded bread. It is also an example of how using sourdough takes some planning ahead. For the workshop, Angela did all the planning i.e. giving the sourdough time to grow and work as a leavener. At home, using sourdough means planning and beginning the baking process further ahead of time than you would if you were using yeast or baking powder.


When we had the sourdough sponge mixed in, we stirred in enough white flour to make a dough we could handle. We formed the dough for each bread into a ball and covered with a damp cloth and let rest for about 15 minutes. Then, we kneaded until smooth and elastic.


And here are the two breads everyone took home for baking. There are few aromas more wonderful than the smell of home baked bread!


The Old Fashioned Pancakes were light, fluffy, and delicious! When I said so to Angela, she said "that's because they're alive..." and indeed using sourdough starter in the recipe makes a difference!


Here we are rolling and shaping pieces of the Sourdough Pretzel dough into long ropes, then twisting the ropes into pretzel shapes.


We brushed the pretzels with a mixture of beaten egg yolk and cream before covering with a damp cloth to let rise. After rising, we brushed the pretzels with the egg mixture again and sprinkled with salt. Notice all the different pretzel shapes!


The pretzels were baked for just 15 minutes in a preheated oven and allowed to cool before eating. They were absolutely delicious and although this is not the best photo, you can see what they were like.


Before leaving, Angela told us how to feed and keep a starter. A starter has to be fed with the same amounts of flour and water you take out on a weekly basis. You can use the starter to make bread, or give away to a friend, or discard. The idea is to maintain approximately the same amount of starter all the time, although it is also possible to expand your starter. Here's to the fun, challenge, and good taste of sourdough!

Sunday, December 14, 2008

Serious Dough

We learned how to bake bread at Motherhouse's Old Style Life Skills Serious Dough Workshop on Saturday. It was a nourishing experience in many ways - Bread feeds us, unites us, and comforts us.


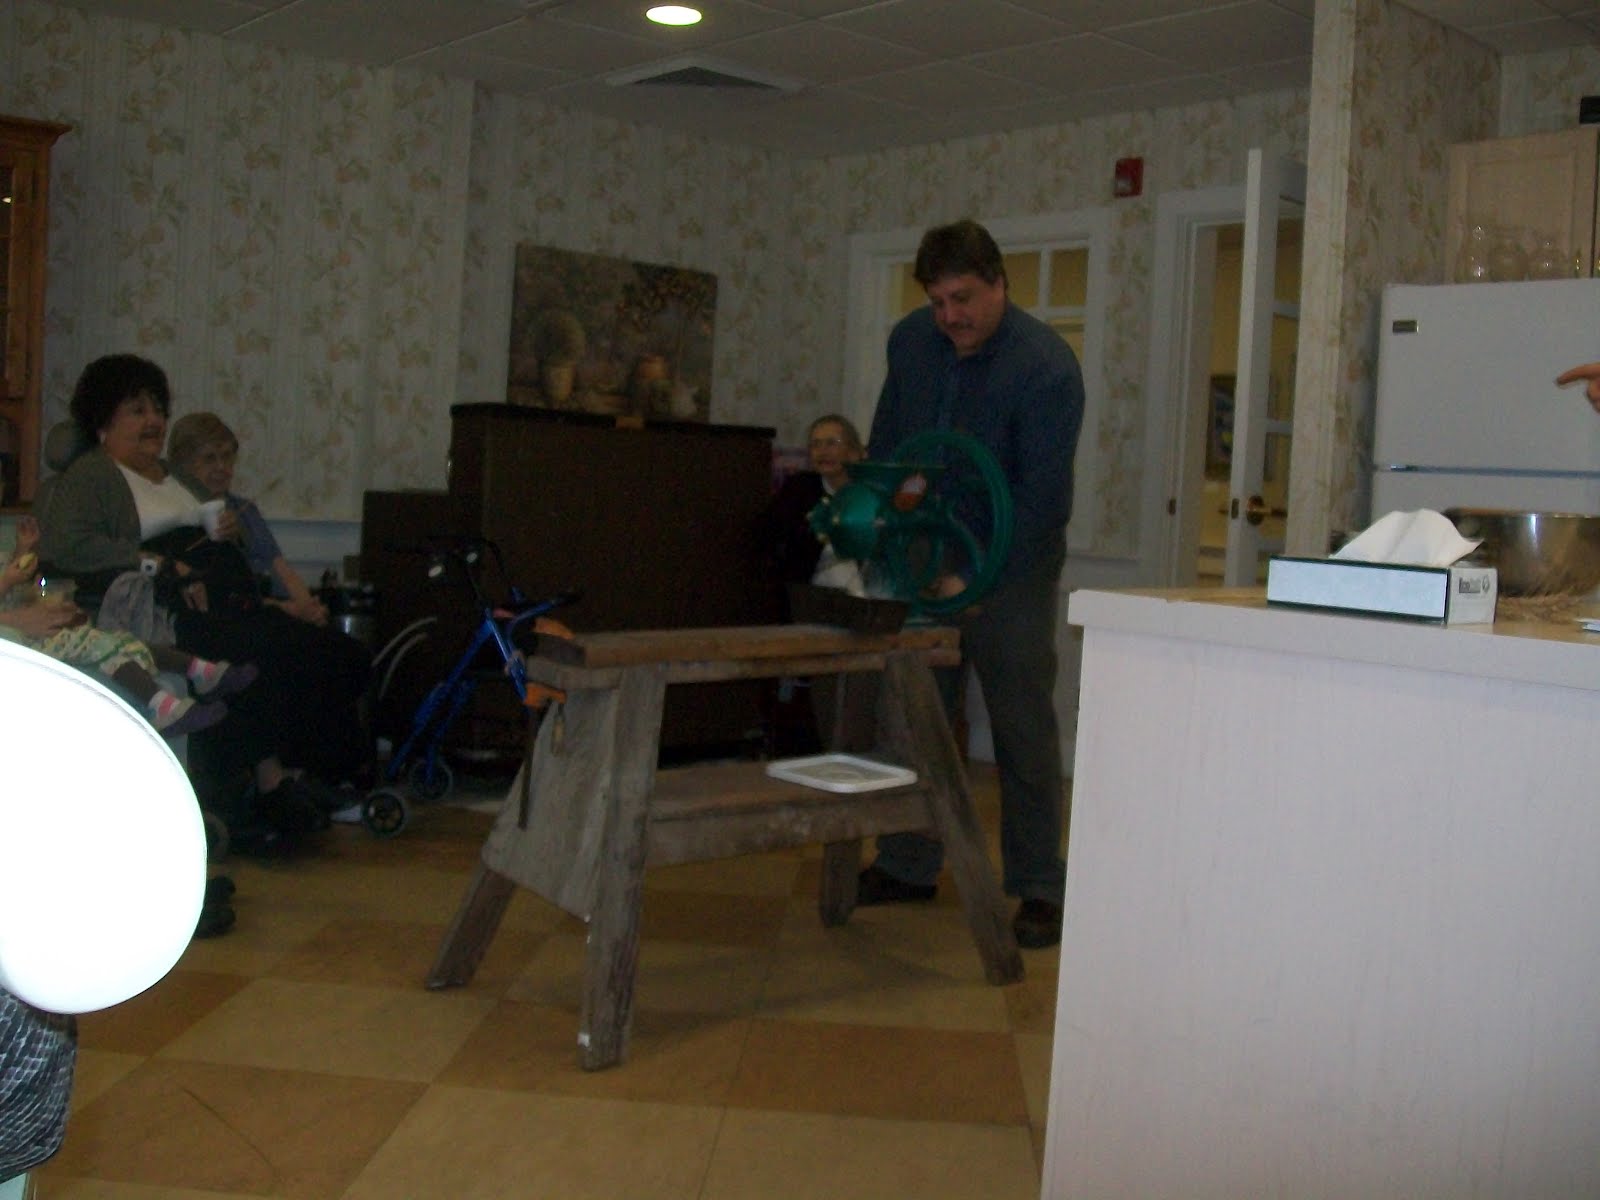
The first thing we did at the workshop was grind hard red wheat berries into flour. Each family needed enough whole wheat flour to make Basic Bread and Frankie's Irish Soda Bread. As you can see, it was a joint effort!


This Serious Dough workshop was the third bread baking workshop offered since Motherhouse began it's Old Style Life Skills Series in 2006. One of the attendees at the first workshop has been baking bread ever since! She returned to this workshop to demonstrate how she uses a Grain Mill Attachment on her Kitchen Aid.


With freshly ground flour in hand, each family paired up with another family. We warmed up some Local Farm milk and stirred in salt and honey. We mixed and worked in the flour. Our teacher and the founder of Motherhouse, Debra Tyler, told us our measurements didn't have to be exact. Every time we make bread it will be different, she said.


Debra had cubes of yeast as well as packages of dry yeast for the Basic Bread. Debra explained that yeast is a living organism and it would feed on the sugars in the flour and grow. As it grows, it gives off carbon dioxide. The carbon dioxide from the yeast fills thousands of balloon-like bubbles in the dough and this is how yeasted bread rises. This is also what gives a loaf of bread it's airy texture, once baked.


Kneading the dough is one of the most fun and important steps in bread baking. To knead: Turn the dough out on a clean, floured work surface and flour your hands, as well. Using the heel of your hands, compress and push the dough away from you, then fold it back over itself. Give the dough a little turn and repeat this. You will get into a rhythm with these motions. Keep folding over and compressing the dough until it becomes smooth and slightly shiny. The most common test for "doneness" is to press it with your finger. If it springs back, it's ready for rising. Debra said that kneaded bread dough has been likened to a baby's bottom.


Time is as essential an ingredient as flour is in making bread - time for the dough to rise naturally. While making bread is an all day process, it doesn't take all day, Debra said. It just requires being attentive to it. If Debra is not going to be at home, she takes the bread she has started with her in the car, so that she can punch it down after rising. Everyone at the workshop took their Basic Bread dough home to let it rise for the second time and then bake.


We also made a quick bread - Frankie's Irish Soda Bread. Quick breads are quick in two ways, Debra explained. They do not contain yeast, so you don't have to set the dough aside to rise. They are also quick in how you handle them - mix just enough to combine the flour and other ingredients. If you handle quick bread too much it will be tough.


The Tassajara Bread Book is what got Debra, and many others, started baking bread. It was first published in the late 1960's and written by Edward Espe Brown, then a young Zen student who lived and worked at a Zen retreat named Tassajara, in Monterey County, Calif. Everyone at the Serious Dough Workshop went home with a copy of the 25th Anniversary Edition.

In a 2003 New York Times Magazine article, Flour Power, about Edward Espe Brown and his book, he says: ''When I was growing up, nobody could show me how to bake bread -- and it's only gotten worse. It seems such a shame that as a culture we don't teach our children about the basic things in life -- bread making, gardening, sewing -- and the value of work. At some point, all these things got to be beneath our dignity. If you can't work with your hands, you lose the richness of your life and the sense of being productive.''

He continues: ''In my book, I wanted in a small way to share the fact that you could actually learn skills in your life that would help you become able to take care of yourself. It's so simple. It's such a clear vision. People have the capacity to cook and garden and farm, and we don't use it. It's very sad to me that it's come to this."


Find resources and more details on Motherhouse Market for: the beautiful mixing bowls which were lent to Motherhouse by Cornwall Bridge Pottery for the workshop; the hard red wheat berries from Al Earnhart's Lightening Tree Farm; Hand-Turned Grain Mills; Celtic Sea Salt; Local Farm Milk; the Tassajara Bread Book; and recipes for Basic Bread and Frankie's Irish Soda Bread.


Before the flour, the grain.
Before the grain, the mill.
Before the mill, the earth,
the sun, the beauty of God's will.